

Love strikes in the most unexpected moments… You catch a glimpse of perfection, the true beauty itself and your fate is sealed. Love fogs your senses and you don’t care anymore if there’s another one that is younger, more modern, better armoured or has more firepower: you’re in love with the Valentine Tank.
Joking aside, Valentine is a British tank that was manufactured in the highest numbers during World War II, it was used probably in all the theatres of the war and had more than a dozen variants. The distinctive look and the diversity of this tank make it a very interesting subject for my hobby.
One of the Christmas presents from my wife was the 1:72 Valentine kit from The Plastic Soldier Company. This set contains not one, but three tanks that can be built as Mk II, Mk III or MK IX. All these variants are nice, but I liked Mk IX the most so I decided to build that.


To better understand this lovely tank, I bought and read two books: Bruce Oliver Newsome Ph.D’s Valentine Infantry Tank 1938-45 from Osprey Publishing and David Doyle’s Valentine Tank – Walk Around from Squadron Signal . The first book introduces all the variants in detail and the other provides loads of reference pictures from every angle and of every detail. These books are amazing, the two of them fully explain everything you want to know about this tank, I can only recommend them.

The quality of the kit is good, there are no mould lines, there are plenty of details but after reading the books, I had to conclude that the instructions and some parts are not entirely correct. I can’t blame the manufacturer as many online sources are incorrect, some contradict each other and the huge number of variants also add to the confusion.
Based on the books, I made the following corrections:
- The muzzle brake suggested for Mk IX was used on Mk XI, but cutting it to the right shape was easy
- Adding two smoke grenade launchers to the right side of the turret
- The instruction about the wooden blocks on the front of the right fender is also wrong, it’s needed for Mk IX too


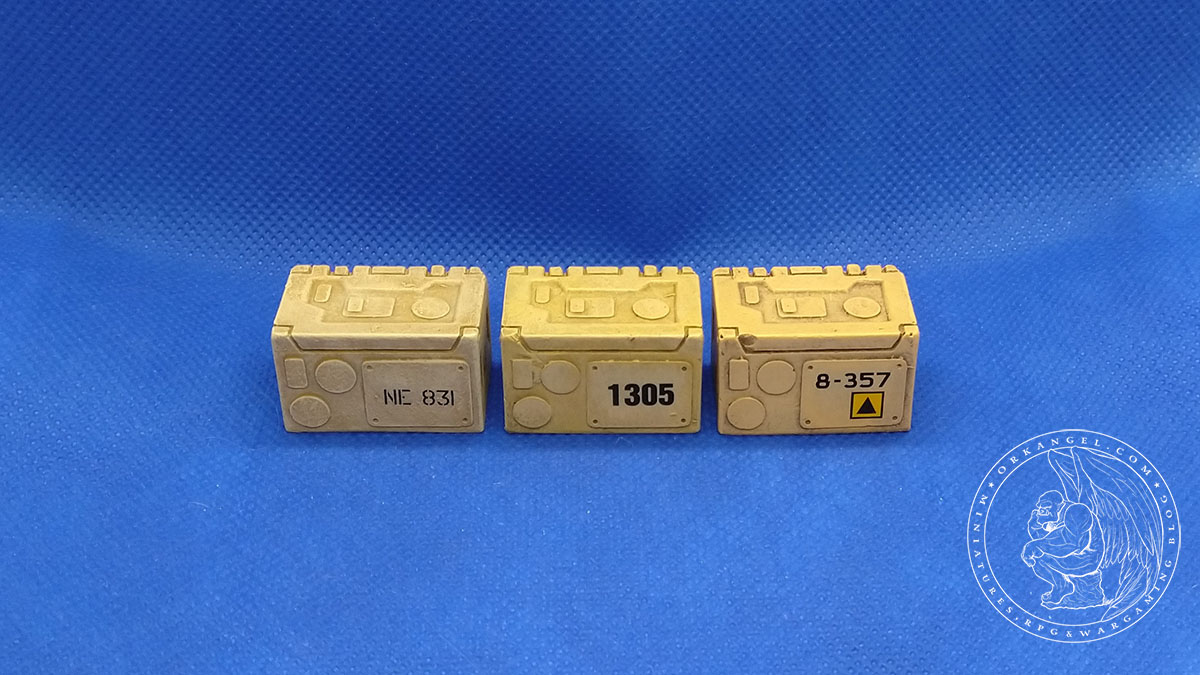
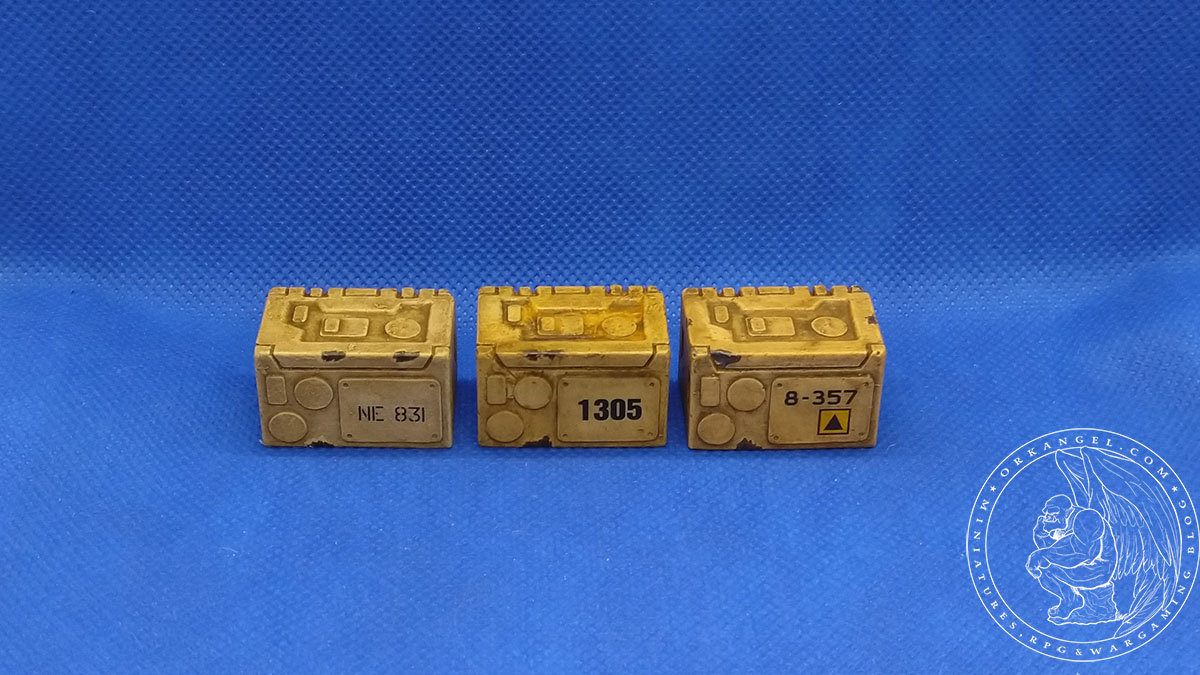
The kit contains no decals, so I decided to paint the tank as the Mk IX presented in the Squadron Signal book, using the weathering techniques described in the “Painting Wargame Tanks” book of Ammo by Mig Jimenez – that means enamel panel wash, chipping and pigments. To find the right tone of yellow I tested three colour combinations on resin containers from three manufacturers: Coat d’Arms (brown basecoat, Desert Sand, Desert Yellow, Pale Sand), Games Workshop (brown basecoat, Zamesi Desert, Flayed One, Screaming Skull) and Ammo by Mig Jimenez (Medium Brown Dark Earth base, Desert Yellow, Sand Yellow). I liked the last one the most, but I still had to try how the pigments and the enamels work, and I decided to test it first on the containers instead of the tank.
I assembled the hull and the turret, base-coated the mini with brown and with black on the tracks. I painted the turret separately but assembled the rest of the tank and used the stippling technique to paint it with the three yellow tones of Ammo by Mig Jimenez. Once it was done, I painted the tracks with Vallejo Gunmetal and added some initial details. The headlights were fun to paint, I was happy with the results, but the markings on the front and the back of the hull were pretty difficult. Since there were no decals, I had to paint them freehand.

The unpainted tank 
The basecoated tank 
The basecoated tank 
The partially detailed tank 
The partially detailed tank 
The partially detailed tank 
The partially detailed tank 
The fully detailed tank 
The fully detailed tank 
The fully detailed tank 
The fully detailed tank 
The fully detailed tank 
The fully detailed tank 
The fully detailed tank 
The fully detailed tank
Once everything was painted, I applied a layer of Lahmian Medium as a super-thin varnish, and did the panel wash with MIG’s PLW Shadow for Desert Brown. After that, I did the chipping, added stowage and applied a mixture of Dark Yellow Ochre, City Dark Dust and Concrete pigments to imitate desert dust. I plan to write a more detailed post about the weathering techniques of the AMMO book soon. For now, I can tell that they are fun to use and they produce very realistic effects.

The tank after panel wash 
The tank after panel wash 
The tank after panel wash 
The tank after panel wash 
The tank after panel wash 
The tank after panel wash 
The tank after panel wash 
The tank after panel wash 
The tank after panel wash and chipping 
The tank after panel wash and chipping 
The tank after panel wash and chipping 
The tank after panel wash and chipping 
The tank after panel wash and chipping 
The tank after panel wash and chipping 
The tank after panel wash and chipping 
The tank after panel wash and chipping 
Weathering completed 
Weathering completed 
Weathering completed 
Weathering completed 
Weathering completed 
Weathering completed 
Weathering completed 
Weathering completed 
Weathering completed 
Weathering completed
With that, I considered the tank to be complete – it might not be perfect, but I’m happy with how it looks and I think that any further attempts to improve it would only ruin it. Varnishing often causes unpleasant surprises in the very last stage. Since I had many bad experiences with it, I decided to skip varnishing at the end. This mini is not a gaming piece, it will be safe in the cabinet.
The last bit was building a scenic base. I found a brilliant article about the North-African battlefields of WWII and decided to build a sandy base with barbed wire and some rocks. I took an oval MDF base, scratched its surface with a serrated knife and applied a bit of PVA to help the modelling clay to stick to it. I shaped the surface with a wet sculpting tool, added barbed wire and some cork pieces as rocks (Pushing them into the clay was not enough, drops of PVA were also needed!). At the end, I covered the base with fine sand, pushed the mini in it to create tank tracks, and sprayed a satin varnish on it to fix the sand to the surface. This didn’t help too much, the sand kept falling off, so I brushed watered-down PVA on it and added more sand. Once it dried, I spray-varnished it again and coloured it with the previously used pigments.

This might sound like a long and gruelling process, but I really enjoyed every minute of it and I also like the result.


